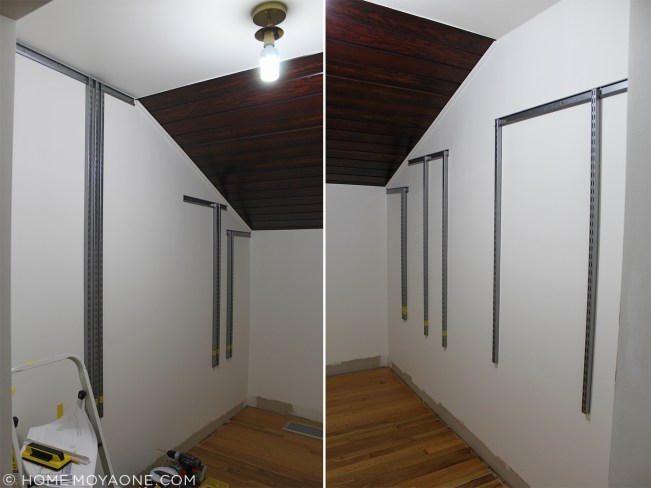
Last we left you, the master closet was [finally] off to a running start. We had designed, demoed, repaired and painted the walls, installed the ceiling, installed a new light fixture, and installed the Elfa tracks.
Over the past couple of weeks we’ve made a ton of progress by installing the built-in drawers. CHECK IT OUT NOW!

Feel free to pour yourself a drink because I’m about to go into all the details…
The drawers we based our design around are part of the IKEA Nordli series. Per side, we used seven sets of drawers (each set comes as a frame with two drawers) and two+ bases (the 47″ size). All the Nordli parts are sold individually, so you can customize your dresser arrangement—or build it in!

Here’s how we did it. (I’ll do my best to describe our process, in case you want to do something like this in your own closet…)
Step One: I built a platform out of 2 x 4s. I wanted the drawers to sit at the same level as the 5.5″ high baseboards that run down the hallway and continue into this closet. I set the 2 x 4s on their narrow edges to create a 3.5″ high base, which the 2″ high IKEA bases would sit on to equal 5.5″.

I screwed 2 x 4s to the wall, double- and triple-checking that they were level, and making sure to hit all the studs. To the back 2 x 4s, I attached perpendicular bracing, screwing them into the back 2 x 4s at an angle. To the perpendicular bracing, I attached front 2 x 4s. Since the floor in this room isn’t quite level, in any direction, I made use of plenty of shims. If I were building this in a perfectly level room, I would have built the base and then attached it in place, rather than building it from the wall-out. Honestly, the shimming made me nervous—I wasn’t convinced that it would be sturdy enough. But now that it’s complete, it really is solid, even if its guts won’t win any fine woodworking competitions.
I also took care to double- and triple-check the depth of this base as I worked, to be sure it exactly matched the depth of the IKEA base.
(Materials side note: I was extremely disappointed in the quality of 2 x 4s at Home Depot. Lowes had a much better selection when I went there, after a third of the studs I bought at Home Depot turned squirrely after they had dried for a few days in our house.)

Step Two: I put the IKEA bases in place. As luck would have it, measurements worked out so that it was easy to place them: when I subtracted the width of seven frames from the wall’s width I was left with exactly 9″ of leftover space, or 4.5″ on either side of the drawers—the width of a 1 x 5.
I laid a 1 x 5 on the base in the right-side corner, to use as a guide, and set the first IKEA base flush to it. Then I laid down the second IKEA base. For the third section of base (where the seventh frame would sit), I measured the distance between the second full base and the wall, and transferred this measurement to an extra base which would be shared between the rightside wall and the leftside wall. J lent a hand at this point and cut this base into four pieces: one for the right, one for the left, and from the center bit of scrap, two small widths for where I had first laid the placeholder 1 x 5s.
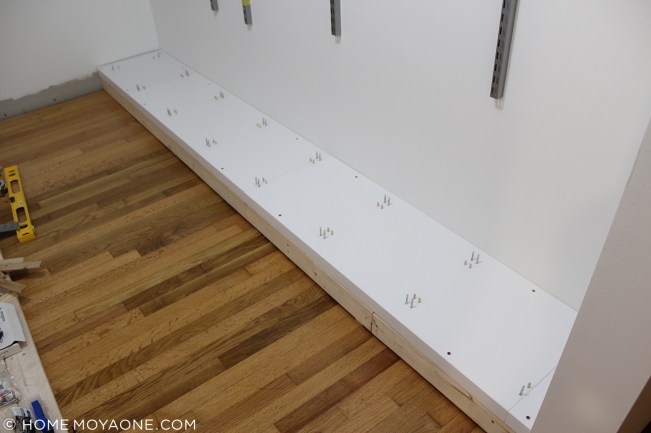
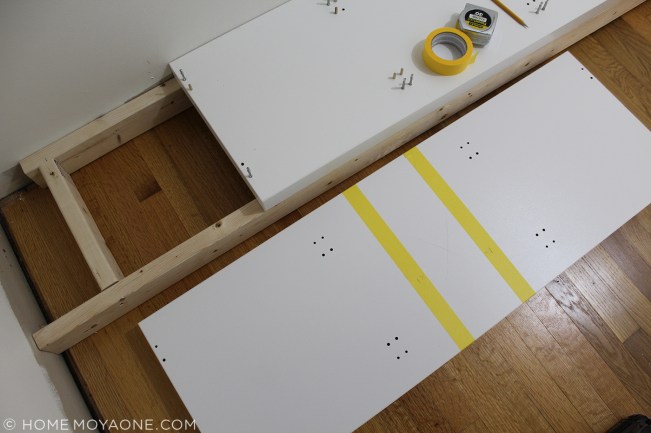
I screwed the IKEA bases to the 2 x 4 bases using 2.5″ construction screws, which I counter-sunk so they wouldn’t interfere with the IKEA frames. (Tip: Before I drilled the pilot holes I put down painter’s tape, which helps prevent the finish from shredding.) I then inserted the IKEA system’s screws and dowels, which would hold the frames in place, into their pre-drilled holes.
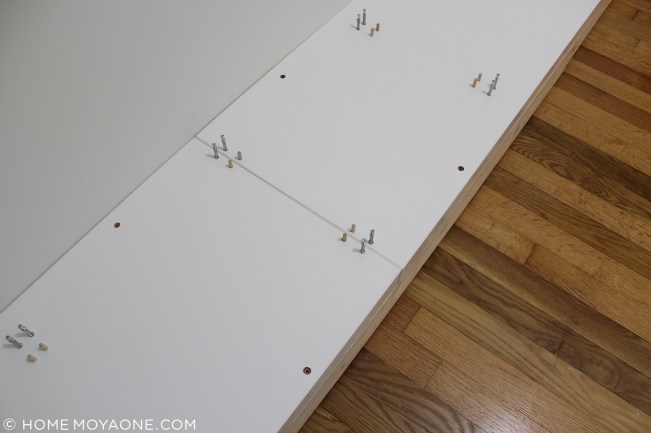
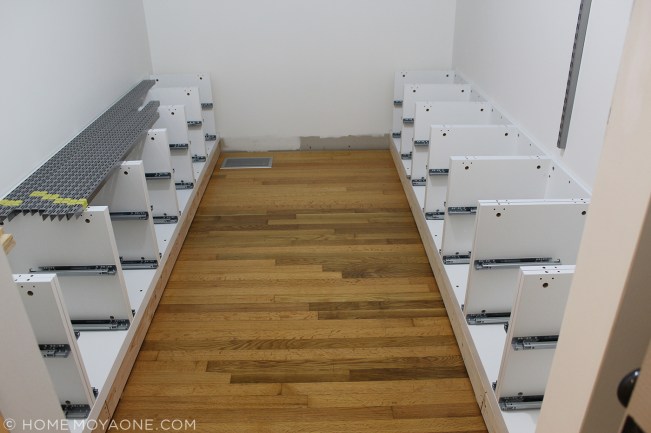
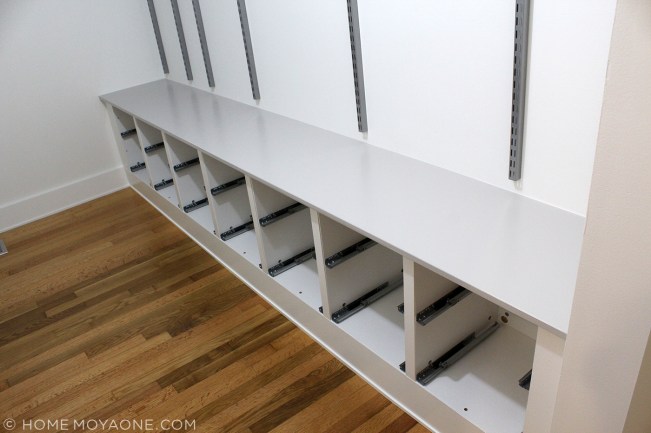
Step Three: I installed the IKEA frames. These slid into place on the screws and dowels, and then I locked them in, four cam locks per frame. (If you’ve ever assembled IKEA you’re sure to be familiar with their cam lock and nut system.)
Once the frames were all snuggly in place, I screwed them to the walls, taking care to hit studs. Here too I used painter’s tape to prevent the finish from shredding. J stepped in to do some of the tougher drilling, where screws needed to go in at an angle to hit a stud. I was nervous that I’d lose my grip and send the drill skittering across the frame or something…so I asked J to do it, to have someone to blame other than myself if things went south. ;)


I finished up one side—and then the other!
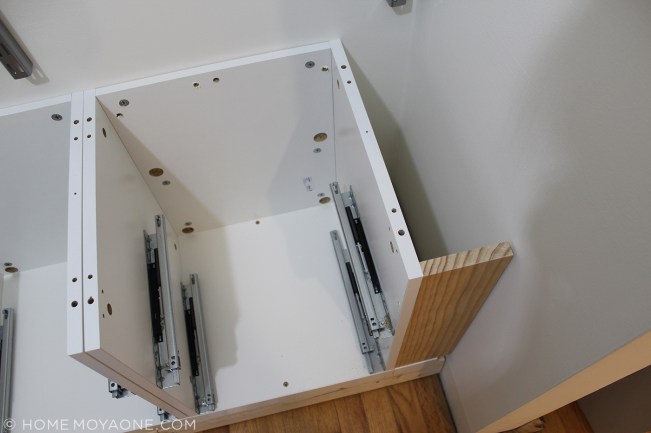
Step Four: To fill the 4.5″ gaps at either side of the banks of frames, I cut 1 x 5 boards to the frames’ height, and screwed them to the sides of the frames. (Later, for further stability, I nailed the drawer tops to these pieces, so they’re secured at the top and side.)
Then J said, You know what would be really great?—if these drawers were floating, and we could store shoes under them. I said, That’s a good idea! I love it. I wish you had thought of it…oh, THREE MONTHS AGO. Or even a week ago….
We actually spent an hour talking through how we’d build the drawers differently, and pros-and-cons of taking apart the bases and frames and starting over… ultimately we decided that I HAD ALREADY WORKED SO HARD ON THESE and taking them apart at this point would be a huge bummer, and we were (are) already behind schedule as is. So they stayed. But note to self for next time: it would be really great if these drawers were floating with shoe storage beneath.
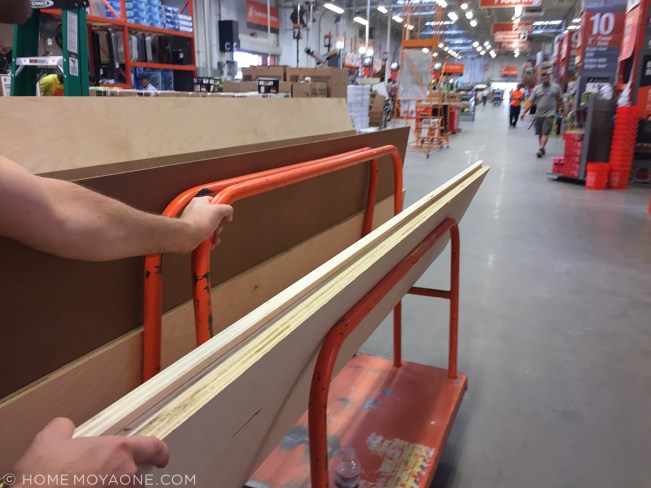
It was then time for a lumber run, to buy plywood for the drawer tops. We bought two 4 x 8 sheets of 3/4″ birch plywood and asked the store to cut three pieces to the width we needed. We also purchased a 4 x 8 sheet of hardboard and had the store cut this in half, for ease of transport.
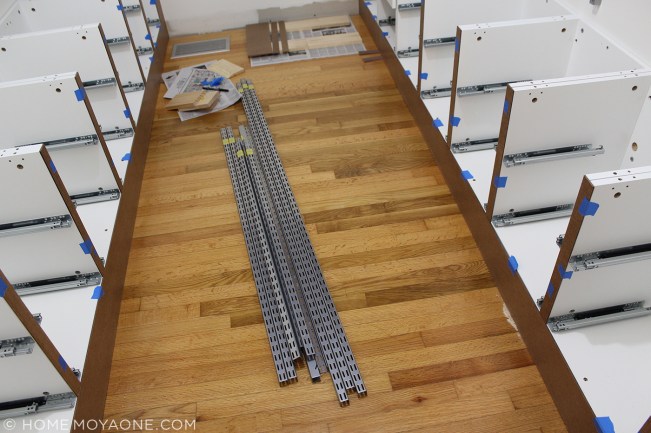
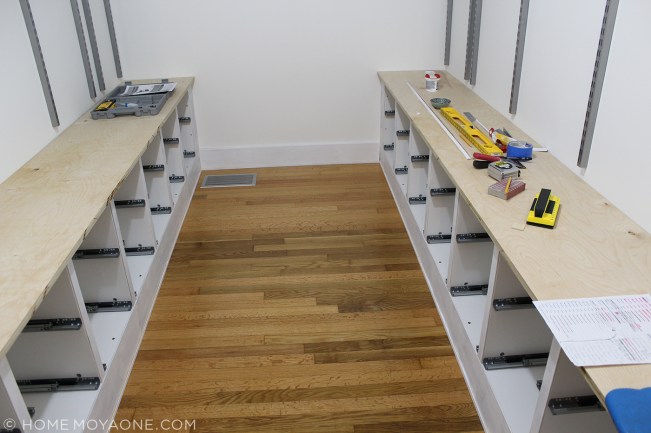
Step Five: Trim. I used the hardboard to cover the transition between the 2 x 4 bases and the IKEA bases, and as trim over the gaps between frames. Here’s the dry fit:
I had selected hardboard because of how thin it is, but I HATED working with it. Cutting it creates SO MUCH DUST. If it scuffs, there’s nothing you can do to smooth it. Putting nails through it causes it to puff up. Ugh. The worst—never again! In any case, I made do, though the narrow pieces that I used over the frame fronts were a pain in the ass to cut. I primed all my pieces, installed them with a nail gun, and caulked the edges. Then I cut, primed, and installed the baseboards (basic 1 x 6s, with mini rectangular trim attached to the bottoms) along the back wall and around the doorway.
Step Six: Fiddling. J and I then test-fit the plywood and decided that I had been too generous in my measurement…so we brought the boards back to Home Depot and asked them to cut another half inch from their widths. Back at home, we cut them to the needed lengths, and after a lot of fine-tuning the edge angles—much like how the floors are not level, the walls do not meet at exactly 90 degree angles—the boards were a pretty darn tight fit.
Also at this time, J trimmed some of the Elfa standards with a jigsaw to make them all align at the bottom. This was necessary partly because the design changed slightly after we ordered the components (way back in March, during their annual sale), and partly because the depth of the new ceiling forced us to hang some of the tracks slightly lower than originally planned. Half an inch can really throw things off.
At this point we were not in agreement on what would happen next: I wanted to stain the drawer tops; J wanted to paint them. I thought stain would look better—not to mention we had spent $50 a sheet for the higher quality plywood, and had taken care to align the wood grains where we had to butt two pieces. J thought white paint would look better because it would brighten the room—not to mention it would save me a lot of time versus staining, and would be more forgiving on the edges, since I could use caulk to hide irregularities. He ultimately convinced me when he suggested that I paint them the same gray we had used for our kitchen cabinets and interior doors (Benjamin Moore 1541 London Fog). We had on hand a half gallon of London Fog in the Behr Alkyd Semi-Gloss Enamel that I like to use for high-contact areas, like cabinets and doors so, …
Step Seven: We finished the drawer tops. They were brought out to the garage where J sanded them and I attached wood veneer to their front edges and primed them. We brought them back inside, and I nailed them to the IKEA frames with an 18 gauge brad nailer, measuring extra-carefully to ensure I was hitting the centers of frames and not just sending nails between them. I spackled the nail holes, sanded, and caulked the seams between boards and walls, and then, finally, I painted—our house-standard Ben Moore 967 Cloud White in semi-gloss on the trim, and London Fog on the drawer tops.
And here’s where we are today!


Which means we’re on the home stretch! Here’s what’s left on the To-Do list:
• install Elfa components
• install IKEA drawers
• replace old light switch; install light fixture shade
• hang mirror
• lay down rug
• move in!
The big reveal is coming up next!

Thoughts?