
Resisting a “landing” pun… I took a beekeeping course last month through Azure B in Marbury MD. It consisted of two 3-hour long, classroom-based, classes and one apiary-based demonstration. After the demo we could pick up any bee packages we had ordered. I had ordered two packages of bees. (I also ordered my hives from Azure B.)
At the beginning of March I picked up my hives and set to work giving the exterior surfaces three coats of linseed oil. (Oil the wood, let it sit in the sun until dry to the touch, repeat…) It got to be a bit down-to-the-wire though when we had a stretch of really cold temperatures and rain last week, but ultimately I got that last coat on before my Saturday deadline. It was just a bit sticky when we attached the hives to their stands.
This past Saturday (my deadline) was the last class in the series, the on-site demonstration at which we were shown how to install our queens and bees, and then were sent on our way with our little boxes of bees. Here was my vantage point for the demo:

The classroom-based classes were pretty small (15 people in mine) but there were a lot of people at the demo.
When I got my bees home I set to work installing them into their hives. (It was very cold on Saturday, so I was wearing my warm work coat and hat and mittens!) First I pried off a thin board from the top of the transport box to expose the feeder can (full of sugar syrup), which I slowly lifted up and out to open the box, trying to not squash any bees.

I removed the queen cage, which was suspended inside the box from a yellow plastic tab. Bees were massed all over the queen cage—a few shakes to get them off, then I could check that the queen inside was alive. The queen cage has a candy plug at one end that the bees will lick until the queen is released. The slow release time allows the queen’s pheromones to fill the new hive home so the colony doesn’t abscond.

I placed the queen cage, candy plug end-up, between two frames. My frames don’t have foundations, as I want to experiment with natural comb hives and let the bees do their thing. Within the next day or two I need to recover the queen cage, to be sure that the workers have released her, and at that point I’ll wedge paint sticks into the tops of the frames to encourage the bees to build straight comb. (I really should have done that before introducing the bees…) We were careful to make the hive stands as level as possible, which should also encourage the bees to build straight comb, if they even want to. Some bees by nature build fairly straight comb, while others don’t, even with foundations.

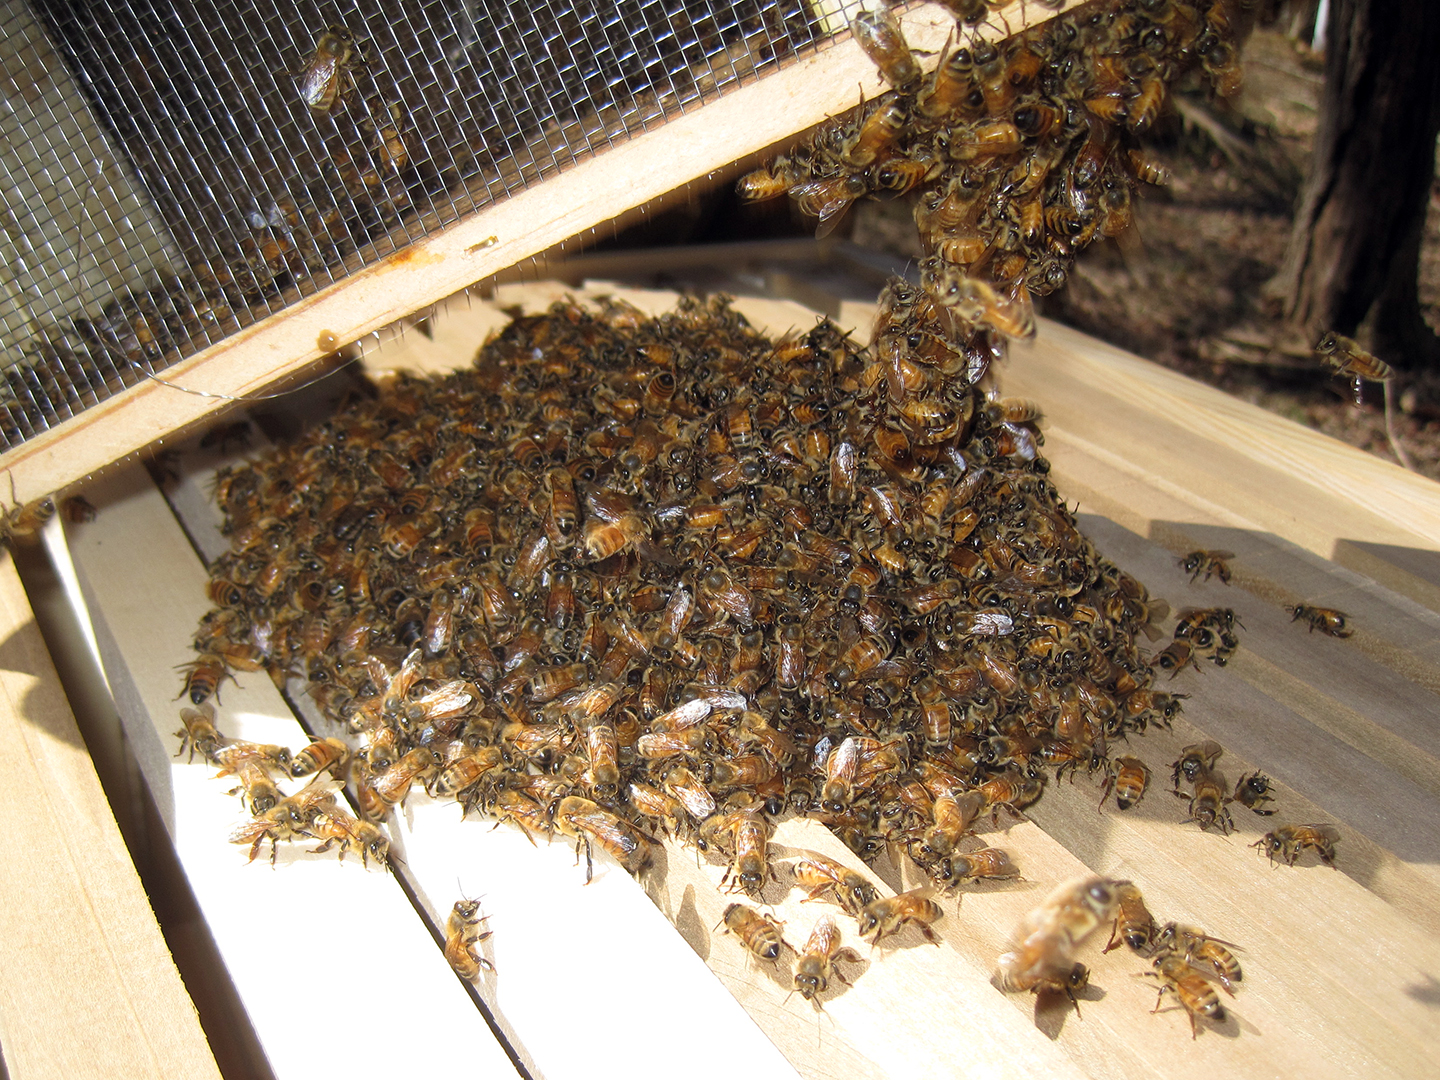
Next I poured in the bees! Rock the bees back and forth, back and forth. They clutch to one other and pour out as a mass. This was a little bit scary and I wished I had a beekeeper’s veil, or at least clothes with cinched openings, at this point…bees kept crawling up my sleeves, one went down my shirt, one tried to crawl up a nostril (that, I did not like). I didn’t get stung… (Update: Jamie is the winner of the 2015 Who Gets Stung First competition.)

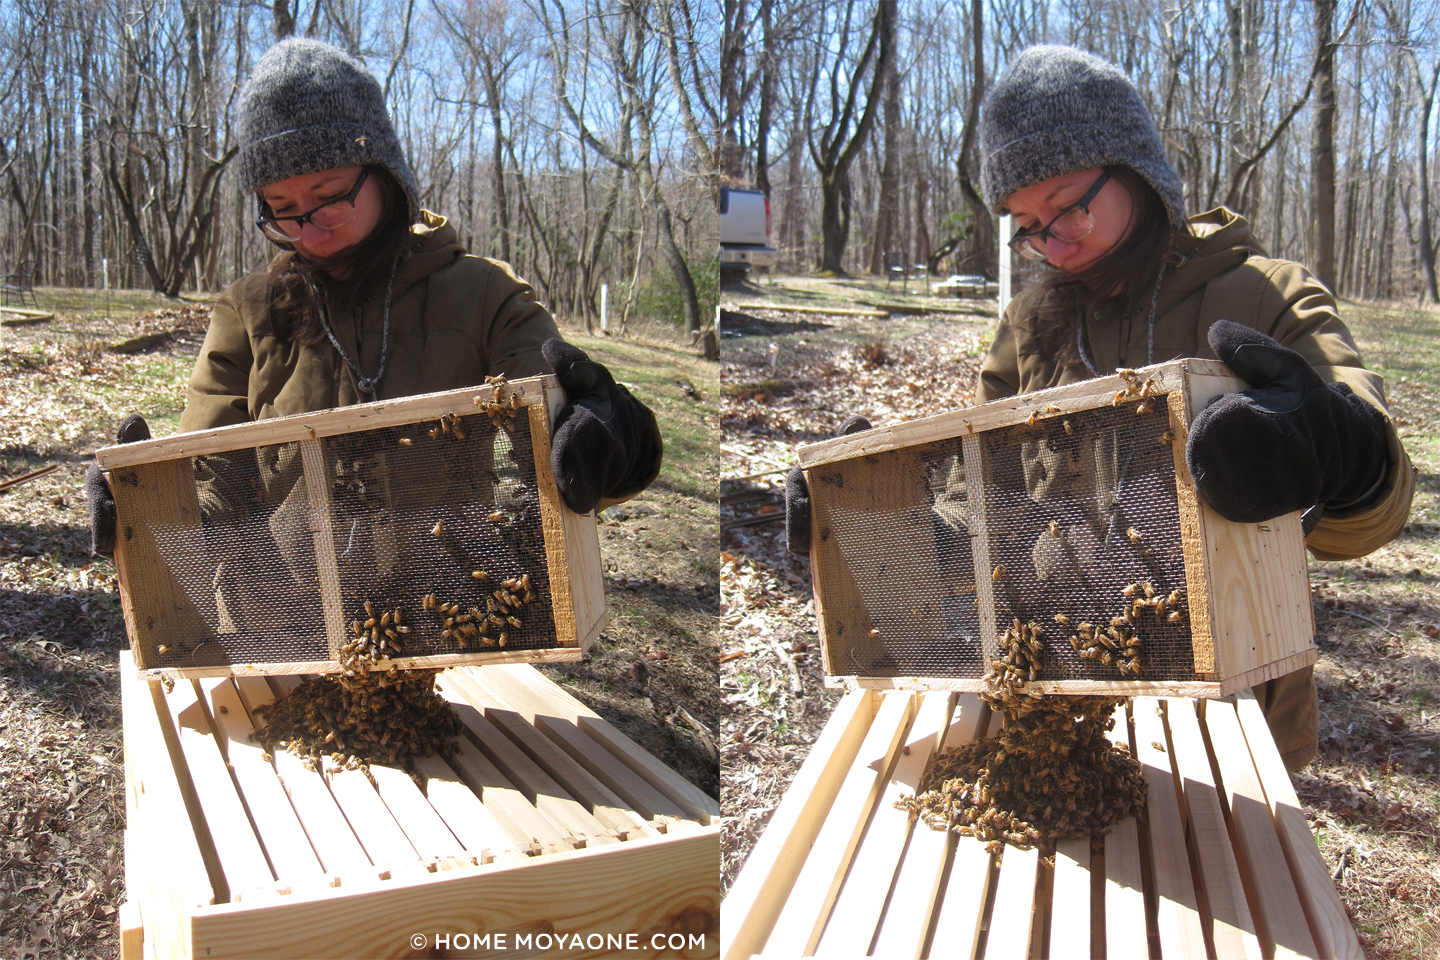
…I didn’t get stung, but I did get pooped on, a lot. All the bees were taking “cleansing flights” so everything was splattered with bee poop. It’s the color of honey mustard. It smells sickly sweet, like silage almost. Just in case you were wondering.
Eventually most of the bees ended up in the hive and I was able to put the inner and then outer covers on. And then I repeated the process for the second hive. Easy! (Not really—it was stressful.)

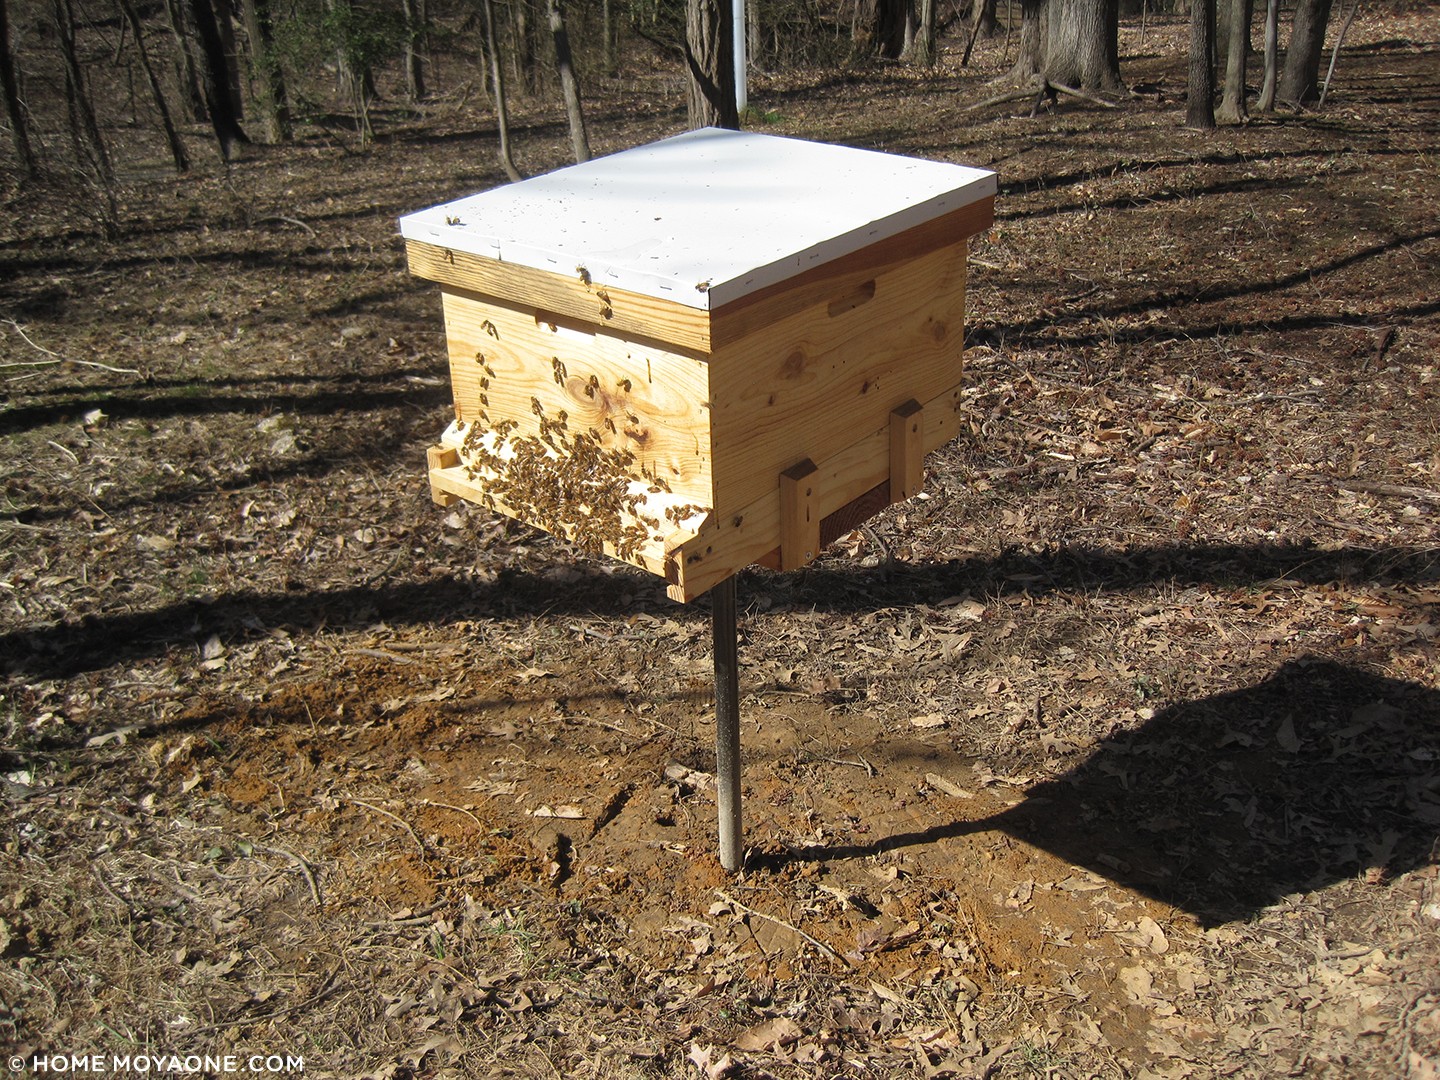
I have one hive set up to the west of the house, on the edge of the “front lawn.” The second hive is set up directly south of the house, visible from the sun room. A lot of rooms in the house have a view of one or both of the hives. (We thought that would be neat.) Both hives have good morning sun, are in dry locations, and allow the bees plenty of room to exit and enter (i.e. they’re not in walking paths).
The hive stands! Jamie devised a “floating” stand which I quite like. It’s simple and was pretty easy to make, and it looks so much better than pallets or cinder blocks (which a lot of beekeepers use as hive bases). The height is good for me to check on the hives, and gives the bees a bit of extra protection from potential 4-legged raiders and the damp earth.
I’ll share instructions for how to make them in another post.
This project was also completed at the last minute (nothing like a deadline!)—with the cold temps and rain that prevented me from oiling the wood, also preventing us from pouring the concrete footers. We didn’t get the second post in place until the night before the bees came! But it worked out, even if Jamie was screwing on the braces while I was at the demo.
Here is the hive at location #2, outside the sun room:
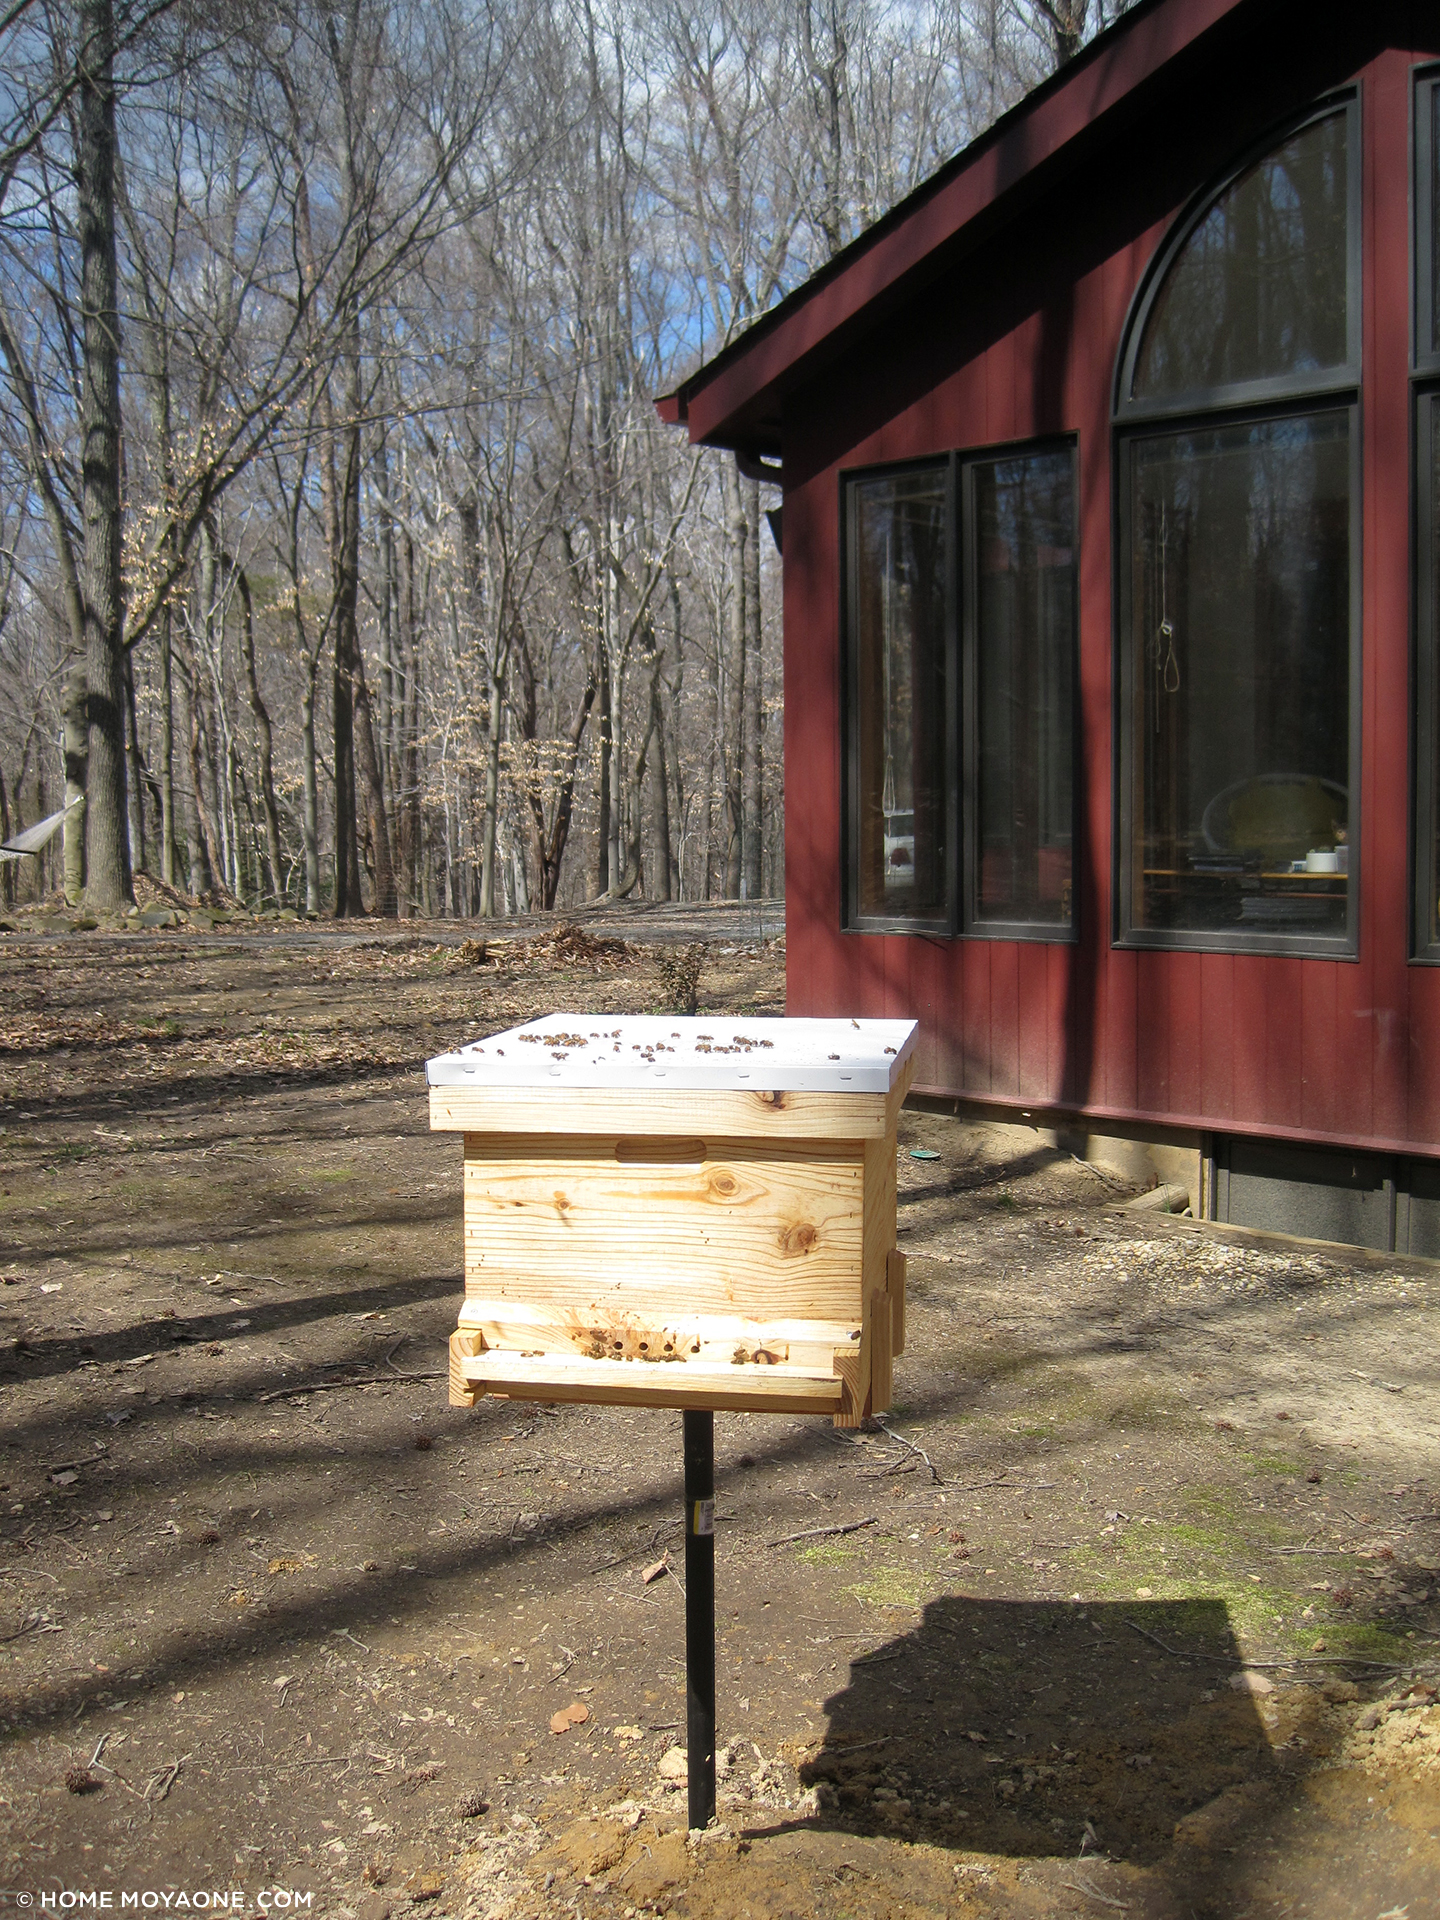
(The bees near the sun room were a little less active initially than the ones at the other spot—they (ironically) get less sun so I think their hive temperature was still a bit cold, though they have since perked right up.)
I’m not planning to harvest any honey this season (sorry friends!) to allow the hives to strengthen. Next summer though: HONEY!

One Response to The honeybees have arrived
Serious?? Will you get back in your kitchen?? :-) Could you not just put a hummingbird feeder up or something? Do you realize I have been holding my breath for like 5 minutes trying to read through that post about bees?? You are one crazy chick I tell ya! All of this for ….honey??? to pollinate a great garden that is coming??? lol wow…whew, at least I can breathe again!!!! Now, get back to the kitchen, I need ideas!!!! :-)